文章最后提供HTML5+CSS3制作网页实例源码下载。
步骤1 -设计
设计师先根据构想使用PHOTOSHOP设计页面,然后开始HTML和CSS编码,从设计背景、颜色和字体,细节部分的工作内容。
步骤2 – HTML
头部html代码
<!DOCTYPE html>
<html>
    <head>
        <meta http-equiv="Content-Type" content="text/html; charset=utf-8" />
        <title>CSS3+HTML5 制作单页面模板|实例</title>
        <link rel="stylesheet" type="text/css" href="styles.css" />
    </head>
页面导航区域代码
<body>
     <section id="page">
            <header>
                <hgroup>
                    <h1>中国网页设计</h1>
                    <h3>权威的网页设计教程基</h3>
                </hgroup>
                <nav class="clear">
                    <ul>
                        <li><a href="#article1">建站入门</a></li>
                        <li><a href="#article2">建站软件</a></li>
                        <li><a href="#article3">网站优化</a></li>
                    </ul>
                </nav>
            </header>
我们使用新标签的部分,该部分将页面分成单独的语义部分。外层<section id=”page”> 是页面部分设置为960 px的宽度样式表。后面是标题标签和导航标签。
注意链接的href属性-# 对应于我们想要滚动到的ID。
主体文章1代码
<section id="articles"> <!-- A new section with the articles -->
<!-- Article 1 start -->
<div class="line"></div>
<!-- Dividing line -->
<article id="article1">
<!-- The new article tag. The id is supplied so it can be scrolled into view. -->
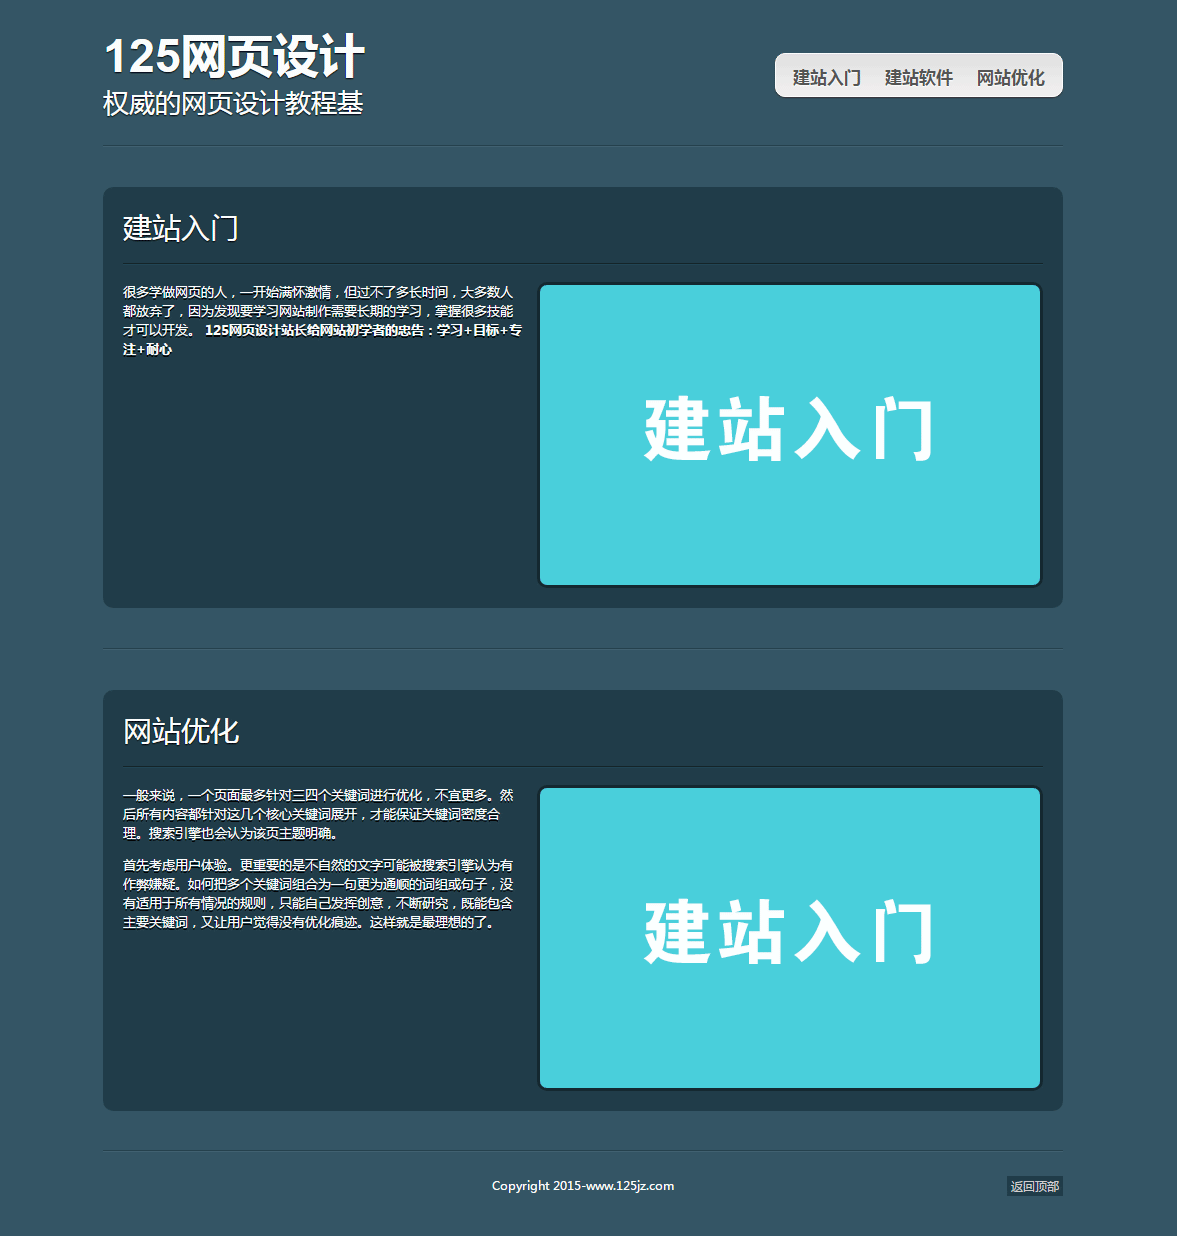
<h2>建站入门</h2>
<div class="line"></div>
<div class="articleBody clear">
<figure> <!-- The figure tag marks data (usually an image) that is part of the article -->
<img src="http://www.125jz.com/wp-content/uploads/2019/03/2019030703092520.png" width="500" height="300" />
</figure>
<p>很多学做网页的人,一开始满怀激情,但过不了多长时间,大多数人都放弃了,因为发现要学习<A href="http://www.125jz.com" target="_blank">网站制作</A>需要长期的学习,掌握很多技能才可以开发。<STRONG> 125网页设计站长给网站初学者的忠告:学习+目标+专注+耐心</STRONG></p>
</div>
</article>
<!-- Article 1 end -->
页脚html代码
<footer>
           <div class="line"></div>
           <p>Copyright 2015-www.125jz.com</p>
           <a href="#" class="up">返回顶部</a>
</footer>
页脚标签,在页面的底部是JavaScript的其余部分包括添加jQuery库和scrollTo插件,我们将在接下来的步骤中使用。
125jz网原创文章。发布者:江山如画,转载请注明出处:http://www.125jz.com/3336.html
 微信扫一扫
微信扫一扫  支付宝扫一扫